The display housing is to be made from a 1″ thick block of Aluminum.
Shown here ready to be attacked by my Tom Senior M1 mill.

A few hours and many chips later… this is now complete and mounted on the Taig mill.
Buttons have been recessed into the front panel along with some 3mm clear acrylic to cover the display.
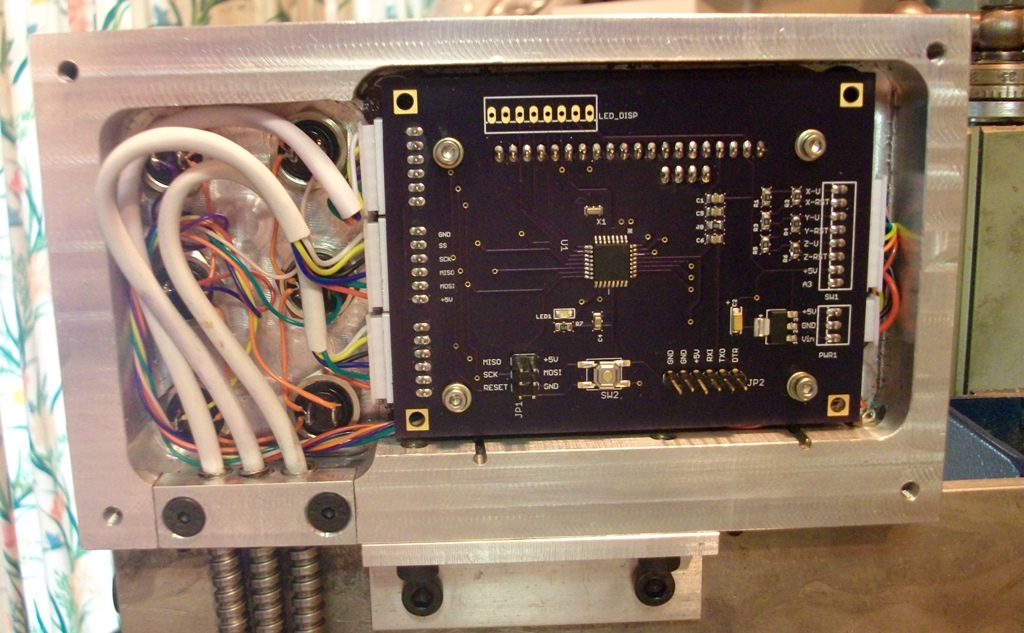
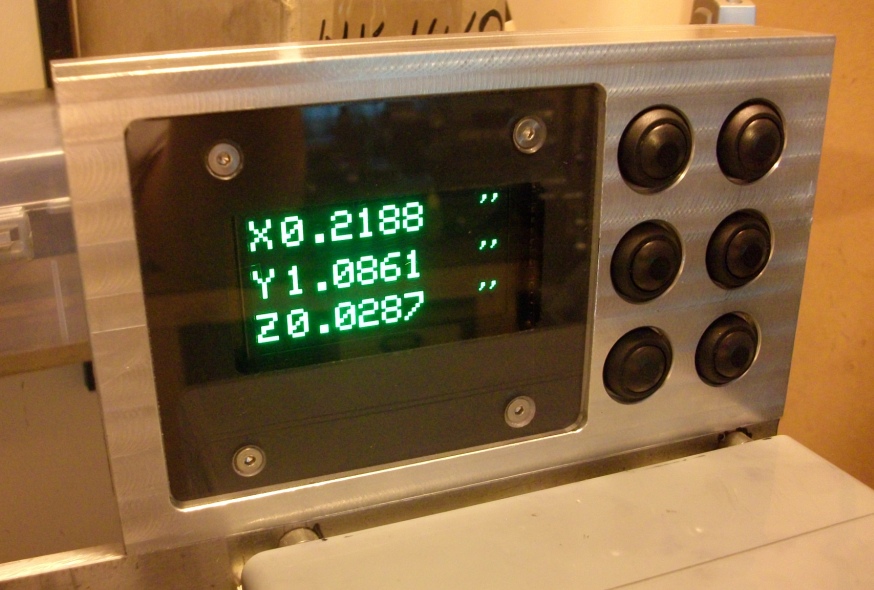
Ready for testing. (still have that blocky font – still on the list to modify)
Here’s the Taig with it’s new DRO.
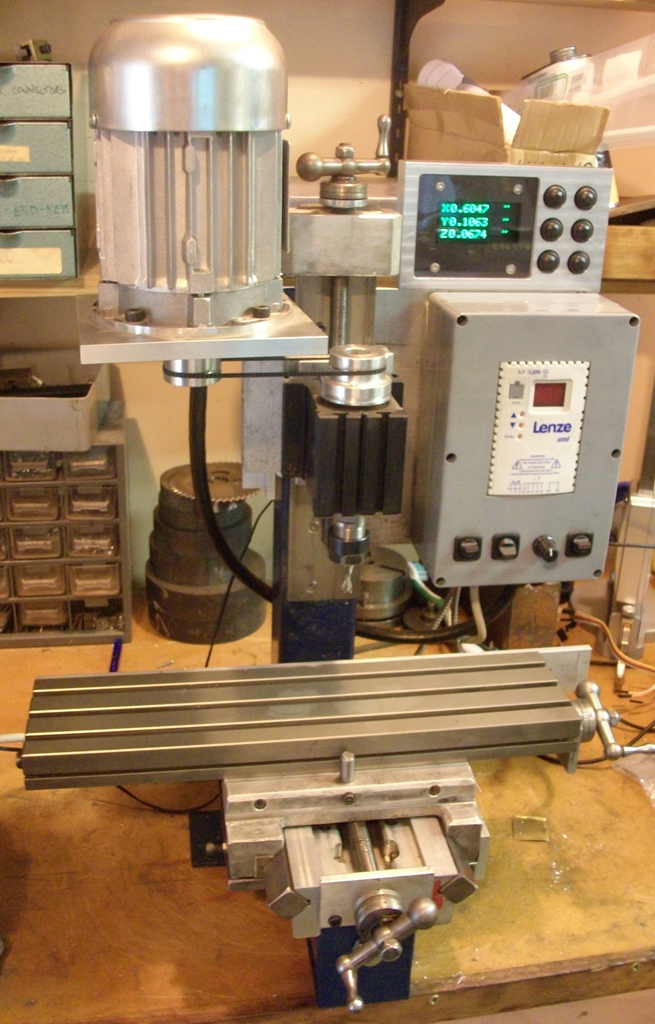
The Taig has a few modifications from standard. Single to 3-phase VSD /motor and ER16 spindle.
Lead screw cover still to be re-installed. This will need some modification due to the installation of X & Y axis sensor mounts shown below.

The magnetic strips are mounted in 16mm U channel. This provides protection for the strips against swarf/chips.

You should add a 4th axis line for a rotory axis. Will you be selling this as a finished product or shareware style.
LikeLike
Hi Paul, Yes. A 4th axis is a good idea. A rotary quad encoder is probably the best option. It’s on the list.
I’ll probably offer this as a range of pre-built PCBs but will post the schematics/layouts and code at some point soon.
It works really well but I’m still making a few refinements, adding support for a few different OLED display controllers.
Currently working on a smaller two axis version for Taig/Unimat sized lathes.
LikeLike
This is one of the best DIY DROs I have come across. Have you had any more thoughts on offering PCBs and where did you get the magnetic strips
Stuart
LikeLike
Thanks. At some point I will offer basic parts like PCB and maybe the magnetic strips as they can be hard to get in small quantity. I purchased the strips direct from Bogen in Germany. (They have a minimum order quantity.)
LikeLike
Hello,
I like your approach very much!
Any advance as of May 2016?
Need a hand?
Martin
LikeLike
Thanks. The project has evolved a lot since my previous posts.
I’ll be posting some more content shortly.
LikeLike